Hosting Pages on GitLab
Last updated on 2025-03-18 | Edit this page
Overview
Questions
- How do I publish my pages via GitLab?
Objectives
- publish HTML on the web with GitLab Pages
GitLab pages
Static websites only
As anticipated by the previous chapters, to publish a website with
GitLab Pages you can use several different technologies like Jekyll,
Gatsby, Hugo, Middleman, Harp, Hexo, and Brunch, just to name a few. You
can also publish any static website written directly in plain
HTML, CSS, and JavaScript. Pages does not support dynamic
server-side processing, for instance, as .php and
.asp requires.
The key to having your website up and running as expected is the
GitLab CI configuration file, called .gitlab-ci.yml. This
file configures how your website will be built. It is written in
YAML, which has its own syntax that we will not explain into
details, so we recommend you follow this quick start guide before
setting it up. To work correctly, it needs to be placed at your root
directory, i.e. at the same level of our README file, in the main
project folder.
The most important fact is that with GitLab CI, you take control over
your builds. They won’t be in an invisible black box where you don’t
know what is going on! You will be able to see any build running live by
navigating to your project’s Pipelines (we will do this
later). You can also add any command to your .gitlab-ci.yml
script. This allows you to do in the remote server pretty much anything
you do on your local machine. We will how some examples on how to run
custom build commands through the .gitlab-ci.yml. file
later on in this lesson.
Work locally or in GitLab
This lesson isn’t aiming to teach Git and how to work locally (in your laptop) on a project versioned and managed in Git. If you have a basic understanding of Git, however, you can do the next steps locally to learn how to properly develop a website: testing it locally and only committing and pushing significant versions of it. On the contrary, working on the online platform will force us to commit versions that will not be very meaningful, for the sake of learning.
If you have a basic understanding of Git, configuring a local project
for deployment. Clone your repository locally (check the git novice lesson
if you need to review what the git clone command does and
how to git push changes from local to remote projects). In
short, you should now run, from a terminal:
And keep working in your cloned directory. You can add and edit your
files via vim or from any editor that you like - it doesn’t
have to be launched from the terminal, but remember to keep the terminal
open for when you will have to push the changes back to the remote.
We will start with the simplest example, a plain HTML site with GitLab pages.
Let’s create the .gitlab-ci.yml file directly in our
GitLab project online. We will need to work on multiple files. To do so,
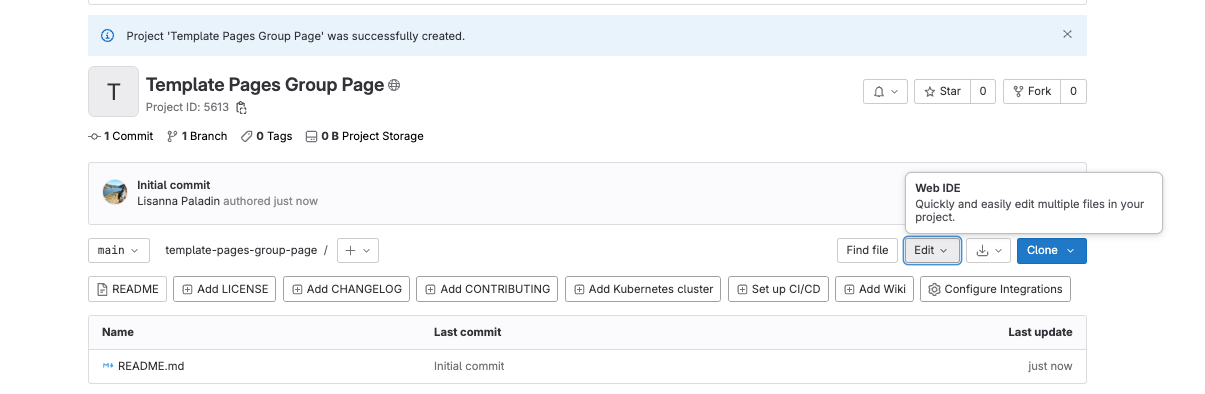
we want to open the Web IDE by clicking the button on the top right of
our project: Edit > Web IDE.
If this is the first time that you open it, a customisation panel
will appear. Ignore it for now, but know that the look-and-feel
of the next screenshots might differ from what you see based on the
default template. You should however have the same menus and files
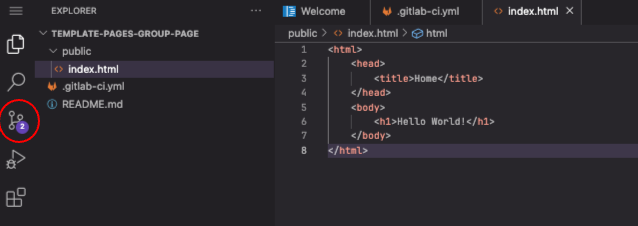
available for use. In particular, the EXPLORER (a file
explorer) on the right side lists files and folders in your repository
(at the moment, there should only be the README file), and
the panel on the right shows the content of such files when you open
them.
Over the mouse on the name of your project in the
EXPLORER to see a small menu including an icon to add files
to the folder. Click on that and create a .gitlab-ci.yml
file. Then, fill it with the following content:
Create your .gitlab-ci.yml file and write in it:
What this code is doing is creating a job called “pages” telling
GitLab to deploy the website content in
public, whenever a commit is pushed and
only to the main branch. It doesn’t have much to do but
looking at the content in public, hence the “script” configuration is
basically none (it just echoes “Nothing to do” to the terminal).
Validating the gitlab-ci.yml file
Before you push any .gitlab-ci.yml to your project, you
can validate its syntax with the tool called CI Lint. You need to
be logged into your account to have access to this tool. It’s found by
navigating to your project’s Pipelines: there is a button at the
top-right of your screen. You can read through the full
documentation for .gitlab-ci.yml for more information.
Git branches and GitLab CI files
You can have a distinct .gitlab-ci.yml for each project
- but you could even have distinct GitLab CI configurations for each
branch. This means you could test your script in parallel branches
before pushing to your main branch. If the build succeeds, you merge. If
it doesn’t, you can make adjustments and try building again without
messing up your main branch.
Next, we will create the public folder (use the new
folder icon in the EXPLORER menu), containing an
index.html file.
Populate the new file index.html with this content:
Before we go on with the chapter, try to imagine what will be the final display in the resulting webpage. You can draw it in a piece of paper.
If you created the .gitlab-ci.yml file, and the
public folder containing the index.html file,
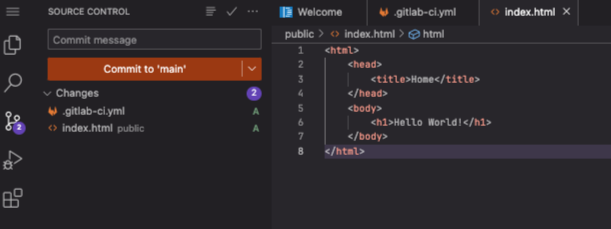
you should see all of them in the EXPLORER. Now, let’s save
the first version of our project (commit), by selecting the
Source control menu on the left side.
This will change the panel on the left, which will list the files
that we changed (two files added) and expect you to input a commit
message (a short description of the project version that you are
committing) in the textbox above. Our commit message in this case could
be: “Deploy simple HTML through GitLab pipeline”. Input this or another
message, and then Commit to 'main'.
Go back to your remote project in GitLab. The screenshot below shows how it should look like:

The public folder contains the index.html
file. The push command you just launched should have triggered your
first pipeline. On the menu on the left, choose
Build > Pipelines to visualise it.
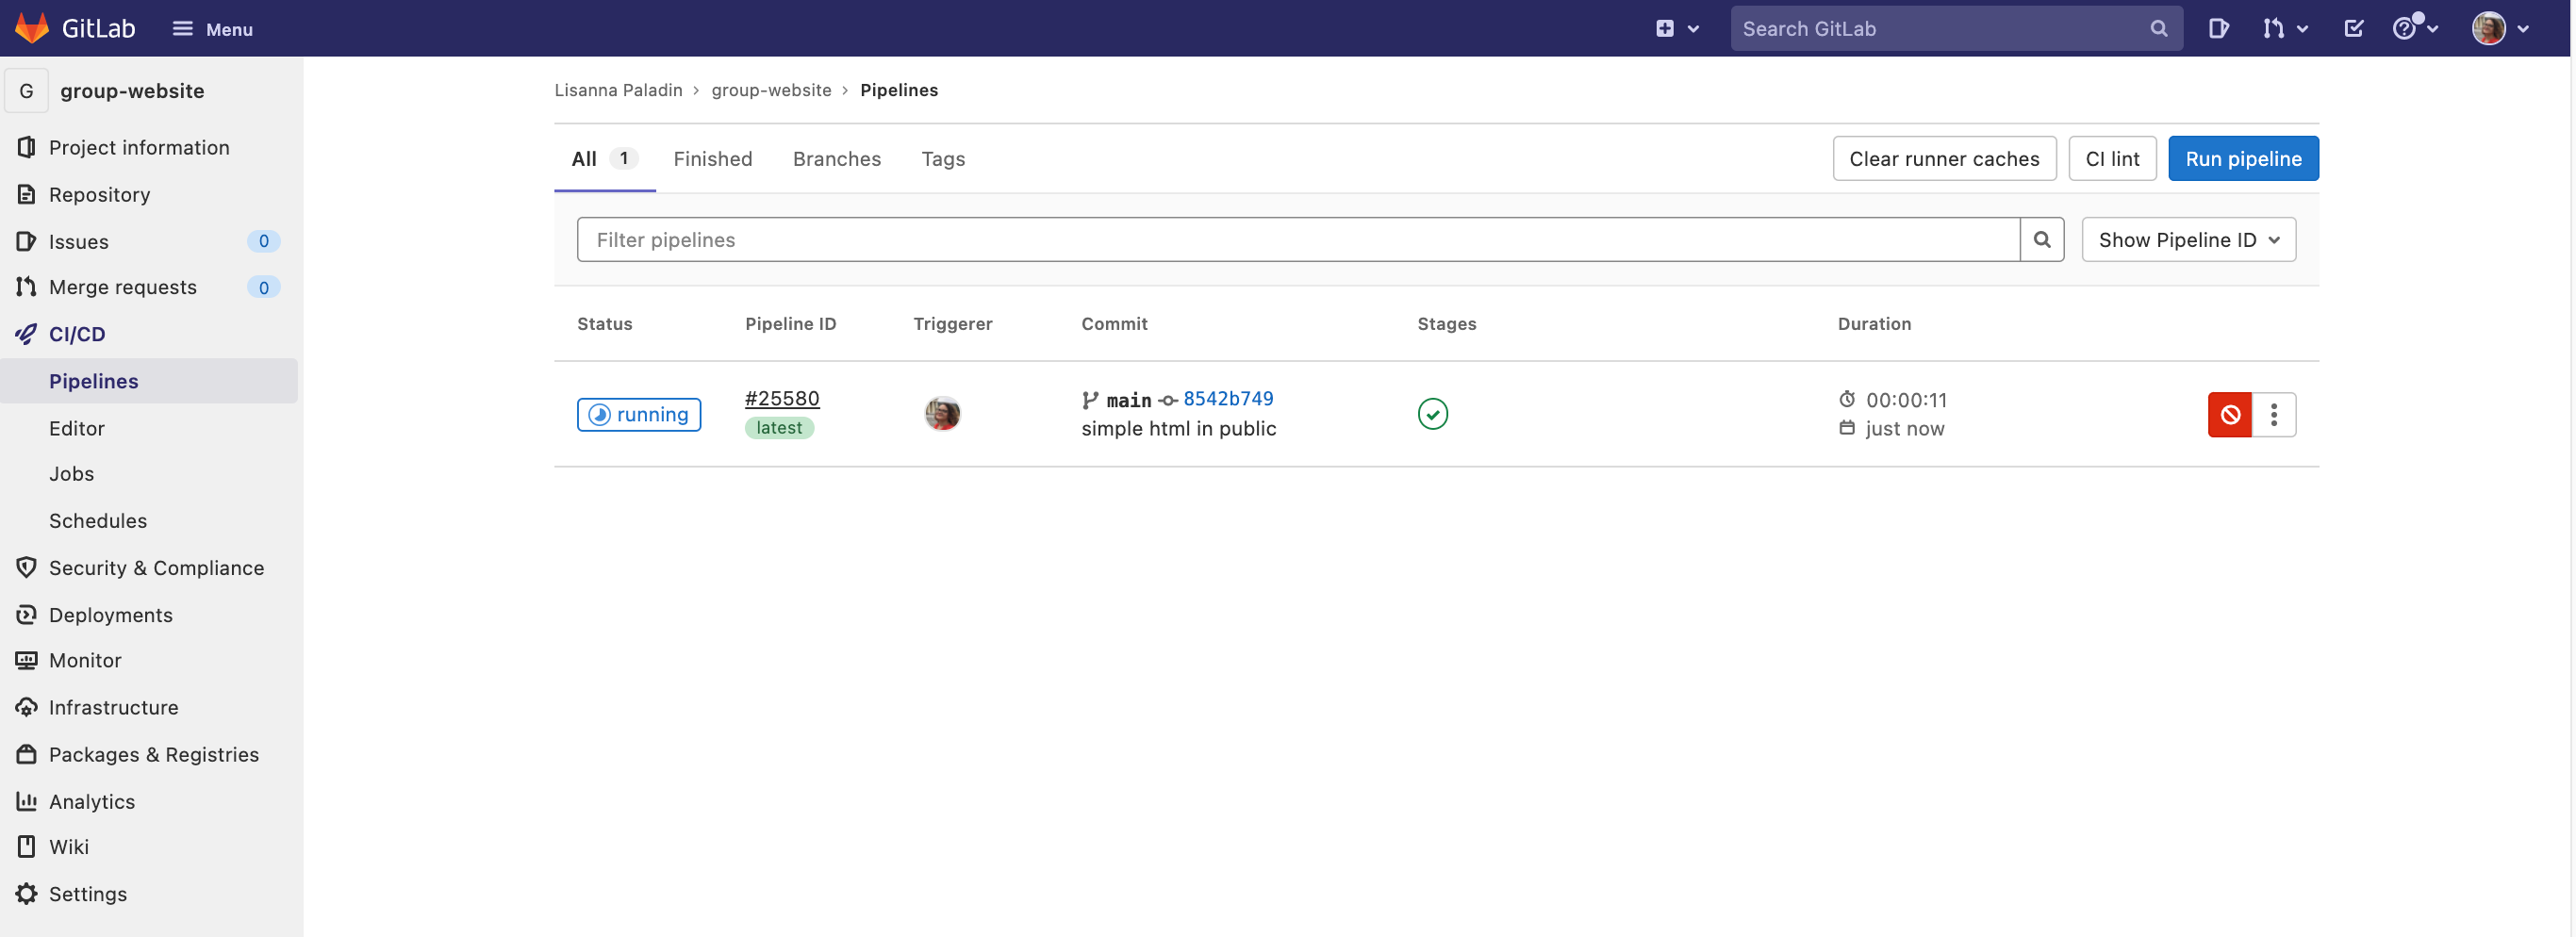
Since we stopped and checked what our remote folder looked like, your
pipeline may already be  . If not, just wait
until it becomes so.
. If not, just wait
until it becomes so.
Your first website was deployed successfully! Wonder where you can
see it? Go to Deploy > Pages. The URL of your website is
reported there. It should be:
https://<your user name>.embl-community.io/group-website.
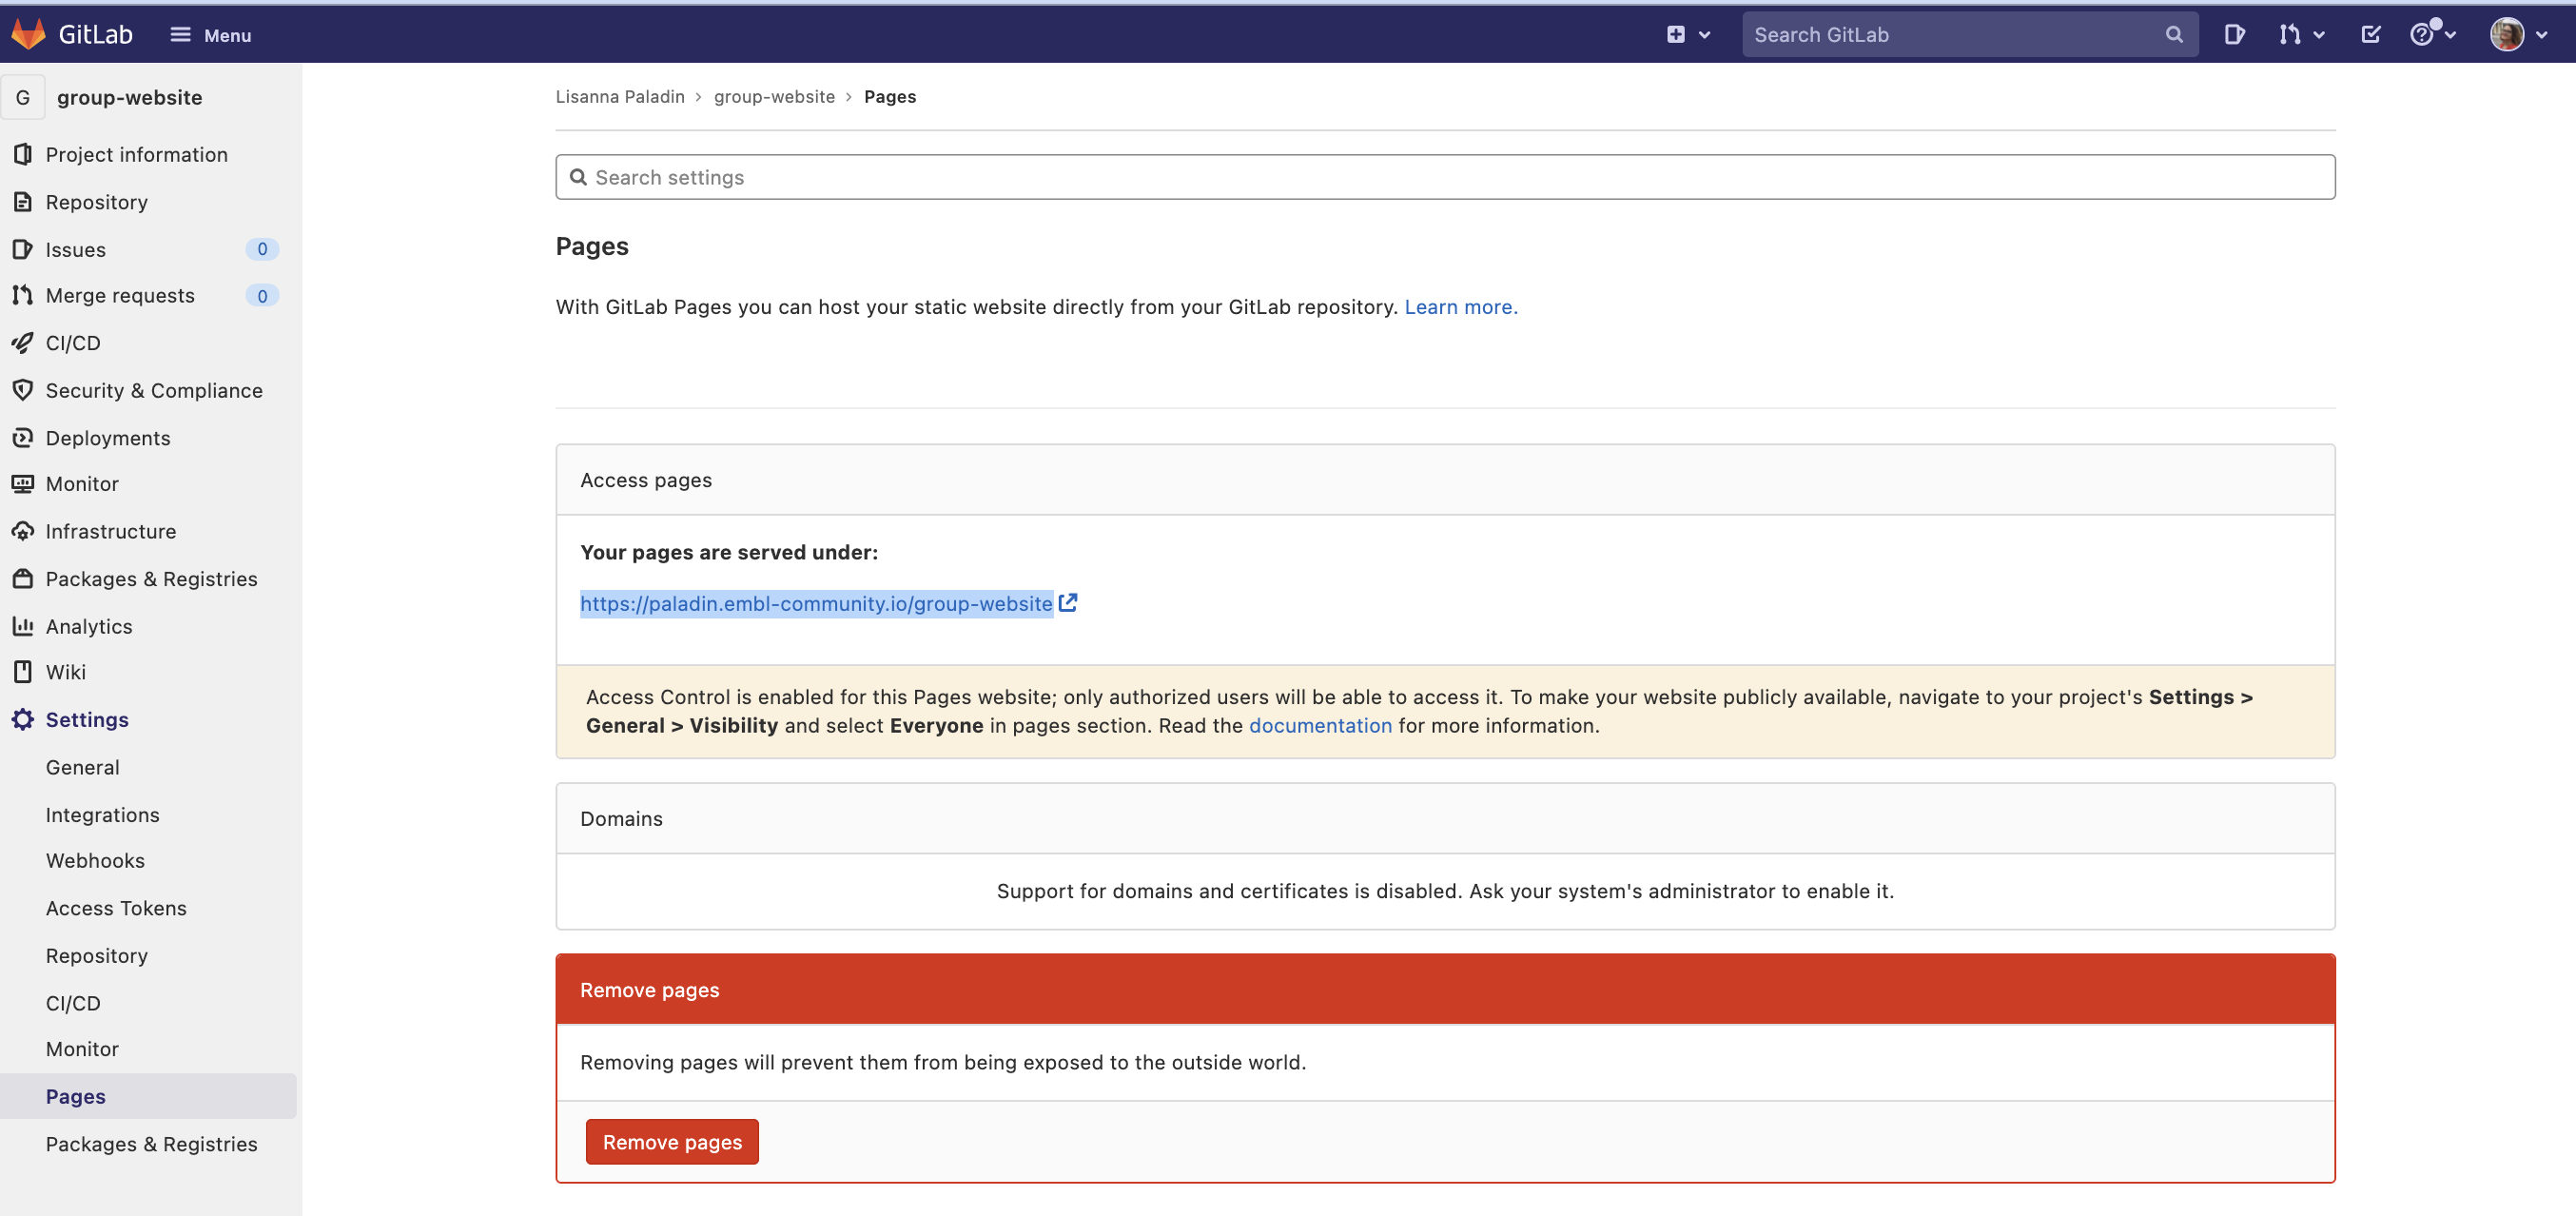
The screenshot below also contains an interesting alert. Always read this type of messages prompted by the GitLab interface, these are usually relevant to you. It says “Access Control is enabled for this Pages website; only authorized users will be able to access it. To make your website publicly available, navigate to your project’s Settings > General > Visibility and select Everyone in pages section.” It also links to further documentation if you want to know more. Follow the instructions if you would like to make your website public.
Wheter it’s public or not, we should be able to visualise our own website. Click on the link, and here it is:

Exercise: Compare with your sketch
Does the website you just deployed look as you thought it would, given the html code in the index file? Did you think that something else would be shown? Discuss with the colleague next to you.
Exercise: The plain-html template
GitLab provides a series of templates of web pages deployed through
Pages. One of them is called “plain-html”, you can access it at this link. The general
structure is quite similar to the one we just used. Go to the
public folder. There are two files here, one
style.css file and one index.html file.
We will now go into the detail of .css file functioning
in this lesson, but it might be interesting now to have a look at its
syntax and content. This type of file is used to style HTML content.
This specific file provides styling instructions for three elements: the
body, the navbar and the link text
(a) within the navbar, that changes color when the mouse is
over it (a:hover). Don’t worry now about understanding how
this works exactly, but when you will visualise this page, remember to
go with the mouse over the navbar links to see this in action.
Now open the index.html file. Its content is reported
below.
HTML
<!DOCTYPE html>
<html>
 <head>
   <meta charset="utf-8">
   <meta name="generator" content="GitLab Pages">
   <title>Plain HTML site using GitLab Pages</title>
   <link rel="stylesheet" href="style.css">
 </head>
 <body>
   <div class="navbar">
     <a href="https://pages.gitlab.io/plain-html/">Plain HTML Example</a>
     <a href="https://gitlab.com/pages/plain-html/">Repository</a>
     <a href="https://gitlab.com/pages/">Other Examples</a>
   </div>

   <h1>Hello World!</h1>

   <p>
     This is a simple plain-HTML website on GitLab Pages, without any fancy static site generator.
   </p>
 </body>
</html>
Time to sketch again! Draw the resulting webpage, provided this HTML file content. Hint: the navbar is a bar on the top of the page, that allows us to navigate the website content.
Optional question: how is the .css file used? How does
the website know which is the right file to read?
You can go to the deployed website to check how does it look like. Here below a screenshot of the result:
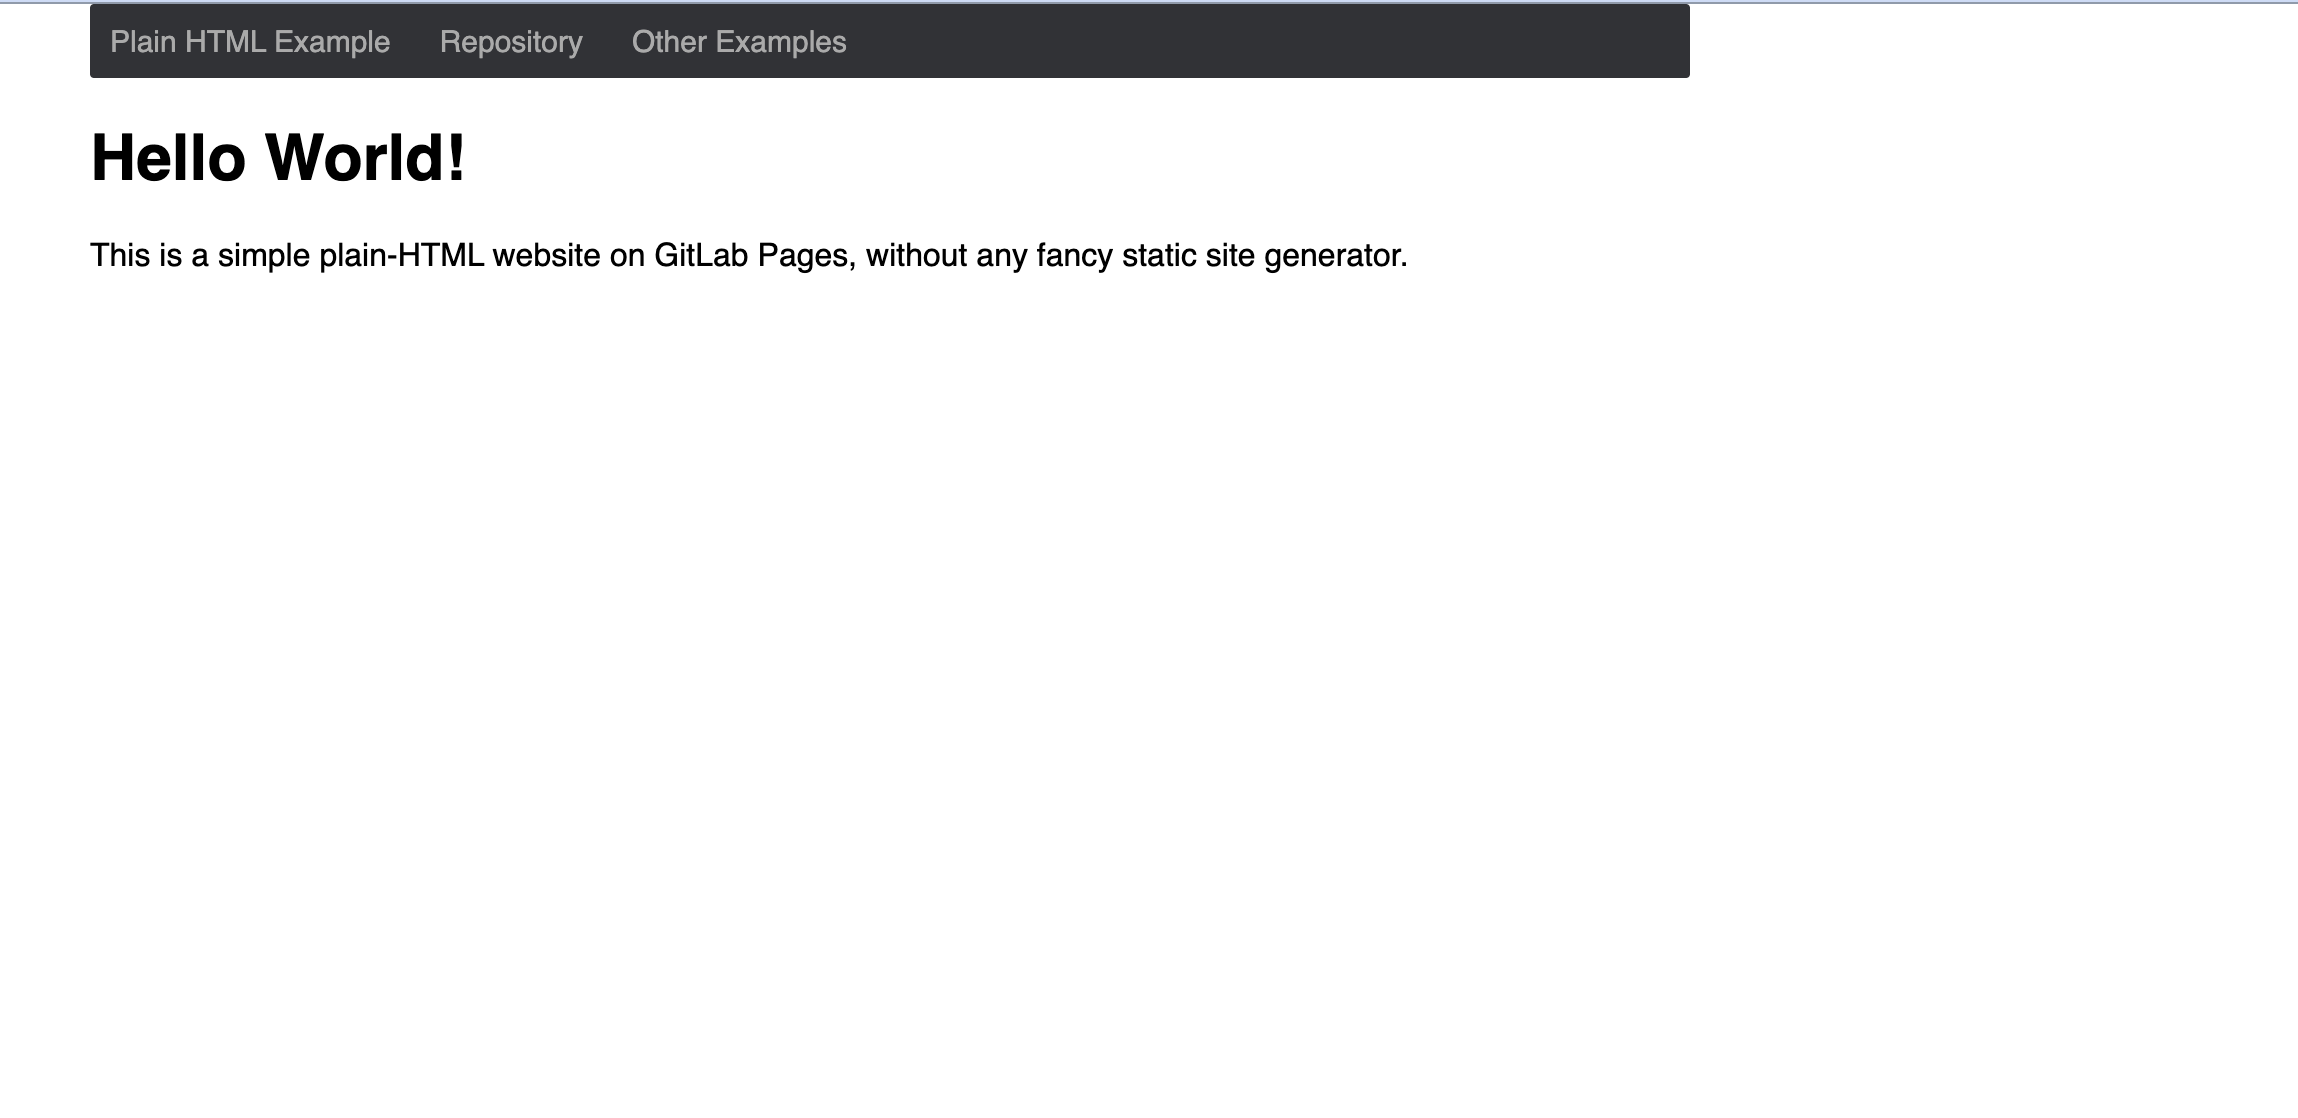
Is there any difference with your sketch?
Optional question: the .css file location is specified
in the .html file, through:
<link rel="stylesheet" href="style.css">.
Useful links
You have the minimal tools now to be able to play around with HTML and css. You can copy the two files from the last exercise template into your repository and try to edit the text size, the navbar color, add links or text formatting. If you decide to fork this repository to experiment, please do as the authors ask in their README file (one more reason to consult the README files in each other projects and to compile them carefully): “If you forked this project for your own use, please go to your project’s Settings and remove the forking relationship, which won’t be necessary unless you want to contribute back to the upstream project.”
An extensive tutorial about HTML elements, including examples of forms, media and links embedding, can be found at w3schools. In addition to this one, many other resources provide HTML tutorials, you can definitely choose one that fits your tastes to learn more.
- GitLab serves pages in your project according to a configuration
file called
.gitlab-ci.yml